Ruby on Rails Setup
Feburary 5th, 2020
How to setup Ruby on Rails 6 for our social media app.
Introduction
In this blog post series, I will be walking you through my process of creating a simple social network app. By the end of this series we will have a fullstack app where users can post their pictures with captions.
If you are stuck at any point, you can refer to the GitHub repo for part 1.
We will be covering an array of features that will be implemented using Ruby on Rails and React Native. Before we work on the React Native side, we will direct our focus on Ruby on Rails.
This is the 1st installment of my Developing A Cross-Platform iOS & Android Social Media App series.
Installing Ruby On Rails
The first step is to install Ruby and Rails on your terminal. We will be using Ruby version 2.6.5 and Rails version 6.0.2.1
I suggest using RVM to manage your ruby versions. Click here to view the documentation for RVM
Installing Ruby 2.6.5 using RVM is very straightforward by running the following command in your terminal:
$ rvm install 2.6.5Going forward, if you ever want to use 2.6.5, you would just need to run: $ rvm use 2.6.5
Once Ruby is setup, install Rails 6.0.2.1:
$ gem install rails -v 6.0.2.1Creating the API
Ruby on Rails is capable of providing the backend and the frontend for applications. In this case, we only would need it for the backend. Fortunately, Rails provides us with an api-only option.
To create a new Rails API, run
$ rails new social-media-blog-api --api --database=postgresqlThis command will create a new app called social-media-blog-api and will preconfigure it for an api only stack using the --api flag. It will also prepare it to be used with a PostgreSQL database using the --database=postgresql flag.
Once this has been created, we can now enter the app directory by running
$ cd social-media-blog-apiSetting Up The Repository
I like to create my GitHub repository as soon as I start my app. So this is a good time to create our GitHub repo. Click here to create a new repository and name it to whatever you like.
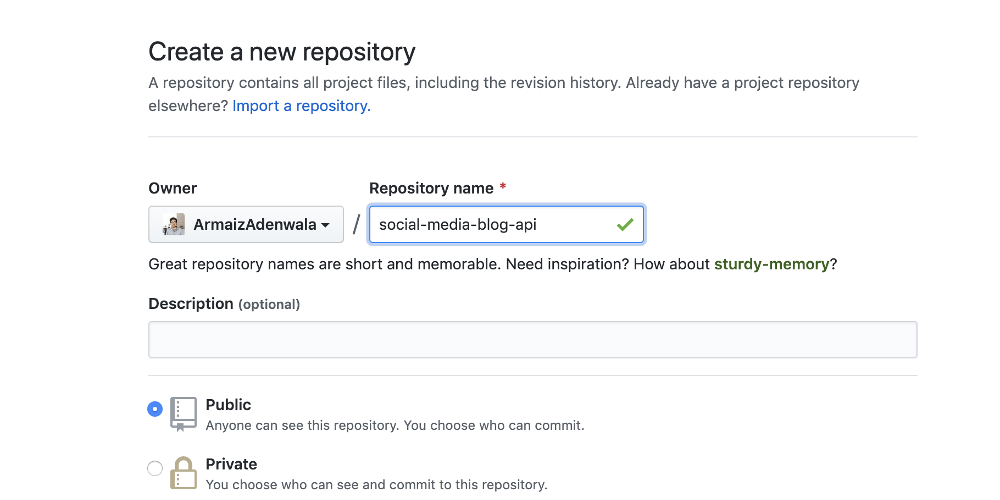
Once you create a repository, GitHub will provide you with some instructions that includes creating a README.md file.
Keep in mind that Rails automatically creates a readme file for us so we won't need to worry about creating a new one.
Lets initiate this directory as a git repository by running $ git init. Since we already have our files, we can run $ git add . to stage all of our newly created files. These will be the files that would be pushed under a commit.
Lets initiate this directory as a git repository by running $ git init. Since we already have our files, we can run $ git add . to stage all of our newly created files. These will be the files that would be pushed under a commit.
Create your first commit by running $ git commit -m "setup rails api". I try to commit as much as possible as it helps track down bugs and issues in the future.
We would now have to tell git that we want to connect this local respository with a remote repository hosted on Github by running:
$ git remote add origin https://github.com/ArmaizAdenwala/social-media-blog-api.git(Keep in mind that your url will be different, refer to the GitHub repository page to find your url).
We will now need to tell git that we want to push our master branch to origin, which is the default name of the repository GitHub created.
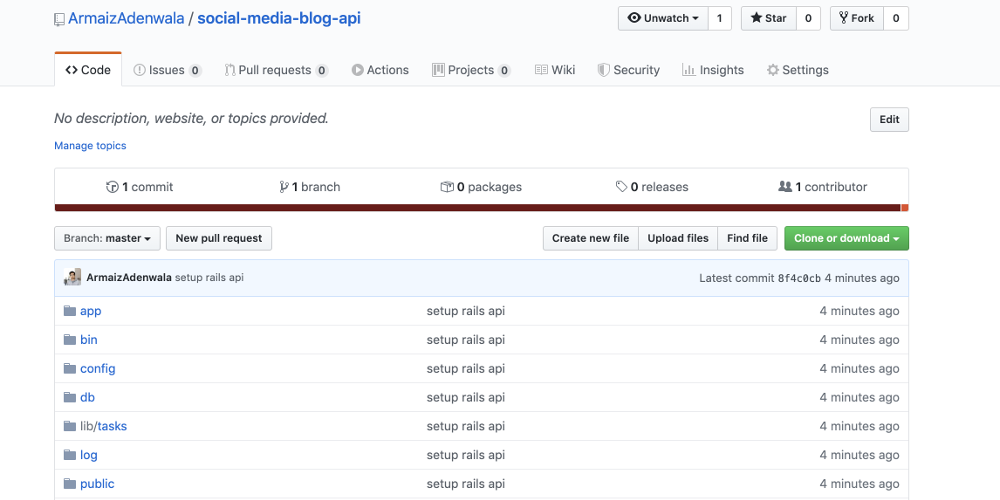
$ git push -u origin masterNow we have GitHub setup! Checkout your GitHub repo url to see your files.
Confirming The Setup
We are now ready to continue with our rails development. Lets run $ rails server or $ rails s to start our server. If everything went right, you should see Listening on tcp://127.0.0.1:3000 in the printed output. That means our server is now running on the default port of 3000.
Congrats! We now have a foundation to work off of for our Rails API! As we go on with this series, you will learn more about how Rails works and what it has to offer. I will be doing my best to focus on one component of Rails at a time so that it is easier to understand as a whole.